

Virtual learning is an indispensable part of ‘new normal’. To make learning fun and keep students or learners engaged, it is important to make the sessions interesting as well as interactive. In this article, you are going to find out all you need to know about how to make your video stand out.
Table of content
- Choose a video streaming platform
- Equipment needed for live streaming
- Ways of making your session interesting
- Slide Presentation
- Use of animation
- Screen Sharing
- Screencasting
- The right attitude for the right engagement
Choose a video streaming platform
There are hundreds of online video streaming platforms. You can either, access them from your browser, or you can download an app. Choose an application or platform according to you and your learners’ convenience to begin with (You and your learners must share the same platform). Some popular Apps are Google Meet, Vimeo, IBM cloud video etc. Once you are on your preferred platform, you just need to sign in or sign up to start streaming.
Equipment needed for live streaming
You can simply start your video sessions with a Smartphone and seamless internet connectivity. Adding a tripod in your equipment list will allow you free movement, and you will be able to shoot videos wherever you want and that too from your favourite angle! You can use a white-board and colourful markers to get the feel of a classroom. Jotting down important points of the discussion on a white-board will encourage the participants of the session to take note. If you want to take your live session game to the next level, then you could use a camera for high definition picture quality, and a small microphone for great voice quality. To give the final touch, you can add lighting equipment to make you look like a pro.
Ways of making your session interesting are:
As video sessions are becoming an integral part of our lives, new options and tools are being added to the video streaming platforms to make your session attractive. Here we will discuss come of the easy and effective methods to make the content of your video session interesting.
Slide Presentation:
The best way to put forward the content of your video session is to by showing a comprehensive presentation. What you can do is-
- Put an attractive title to your presentation.
- Write an overview of the content of the particular session.
- Add charts, graphs, equations, tables and photographs etc. to your presentation.
- Write concluding remarks to finish it off.
You can use ‘Microsoft PowerPoint’ if you are using windows or android device and Keynote Presentation if you are using an iPhone or Mac device. You can find a detailed description of the slide presentation from these following links.
You can even pre-record your voice by using their ‘Record Slide Show’ option. To enhance the visual presentation and reduce written text of your slides to make them even more attractive, you can consider using a product like Haiku Deck before streaming your session. You are now ready to start your online session with the prepared slides. You can share your Screen or upload the presentation to the cloud of the streaming platform to show it to the participants.
Use of animation:
A very modern and popular trick to make your live video catchy is by using animation tools. Instead of using an actual whiteboard and markers, you can use whiteboard type doodles in your session by partially of fully sharing your screen. As you are discussing a topic, you can go on to make relevant notes and drawings to explain it better. The animation software mostly comes with built-in text, themes, tables, images etc. You can customise the built-in content according to your needs. Making animated slides can take longer than making Keynote or Powerpoint slides but they are definitely more attractive and easier to understand. Here is a list of various software that you can use to create your animation.
- GoAnimate
- VideoScribe
- PowToon
- iClone
- CrazyTalk
- Adobe Spark
- Toon Boom Harmony
Screen Sharing:
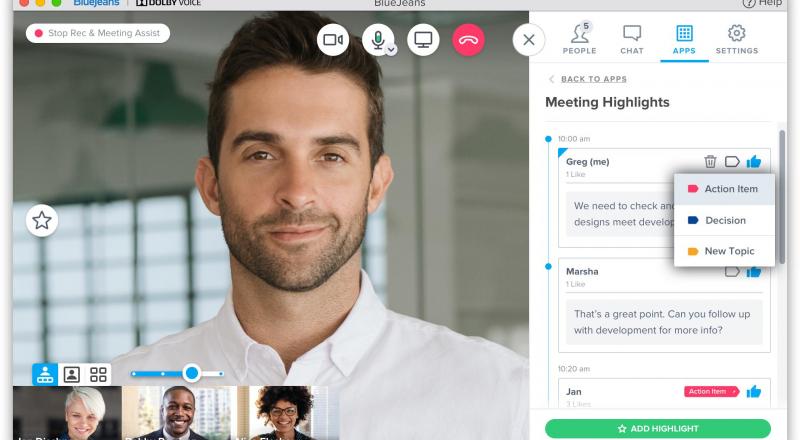
Screen sharing is an option easily available in all video streaming platform. You will always find the option to share your screen in a live session from the ‘Menu’. It basically means whatever is on your screen, anything at all, will also be seen by others in the session.
It is the best option to share your presentation or animation with your learners or other participants. Before starting a live session, open your presentation/ prepared animation/ any pdf or document you would want to refer to etc. and minimise them. Once you are into the session, you can go back and forth, and show your content as you like. You can ask other participants to use this option to make the session more interactive. If you are a teacher, then you can give assignments to your learners, and they can show their assignments using this option. Even a scanned copy of handwritten notes can be shared using screen sharing. In a nutshell, everything can be virtually shared with this useful option.
P.S. While sharing the screen during a live video session, others can also see the notifications that appear on your screen. You might want to turn off notifications before a session, or a personal WhatsApp text might pop up!
Screencasting:
Screen Casting is a technique where you can record the computer screen as you add your voiceover. Screen Casting simply refers to screen recording with your voice. You can use that recording as a presentation during your live sessions, and this technique really comes handy if you are teaching designing, coding, programming, or any computer language. Learning such subjects virtually is more challenging than other subjects because it REQUIRES a visual description. Thus, Screen Casting turns out to be really useful for these subjects as you can explain. However, you like with the voiceover while sharing the visual presentation simultaneously. Click on the links given below start screencasting today.
- QuickTime Player [for Mac only and the basic version is usually pre-installed]
- Jing [for both, Windows and Mac]
- Screencast-o-Matic [for both, Windows and Mac]
- RecordIt [for both, Windows and Mac]
- Camtasia[for both, Windows and Mac]
- Screenflow [for Mac only]
Right Attitude for Right Engagement
How you present yourself is very important during a live video session. You can fail to attract your viewers or learners despite using all sorts of tools to make your session cool, and with the right attitude, you can kill it without much technical assistance. Whether you are an instructor, teacher, a corporate trainer or someone simply interested in conducting a live video session, you need to strike a balance of screen presence.
- Firstly you need to choose the content. Make you are specific about what your live session is going to be about. Do not be vague and generalised while choosing the content of your session.
- After you have chosen the content, you need to choose a title. Be creative and innovative about the session. Remember that people will join your session mainly based on the title that you assign to your video.
- Do not just show presentations and animations. (Obviously use them for better understanding but not just them!) Be present in your video and try to make a connection with the other participants.
- Remember that an interactive live video session is not a monologue. Instead of speaking for a long time at a stretch, take occasional pauses and let the discussion sink in.
- Ask questions, and ask for inputs from others. If you are in charge, encourage participation. If you are a teacher, then you can assign brownie points for productive input from students.
- Use case studies and relatable examples
