

MySQL is the most popular and an Open Source Relational Database Management System (RDBMS & DBMS). MySQL is being used by most of the popular websites as Google, Facebook, YouTube and including my own websites. MySQL is mainly used to store and retrieve the data & information through front-end or the Simple Query Language (SQL) from the command-line.
Earlier MySQL was only used for storing textual data, but now it can be use to store images, video and other format based files. If you are developing applications and software in Java, C++, C# and .Net or PHP, ASPx or in any other programming languages you’ll require some back-end to store the information which can be retrieved later on when needed where MySQL holds an extreme merits as a database management software.
In this article we’ll guide you on “How to download, install and configure MySQL?” and for our Hindi readers, “MySQL Windows Me Kese Install Kare”.
Things you will need
- Internet Connection
- Microsoft Windows XP/7/8/8.1/9
- Basic Skills of Internet and installing application
- MySQL (need to download which is given below)
1 Downloading MySQL 32/64bit
Attention : Do not hang around MySql.com since you will find very difficult to download as the file is sized around 300MB where we already have only 28MB file.
2 Installing MySQL 32/64bit
- After downloading extract the zip file “mysql-isrgrajan.com.zip”
- Right Click on the file and click on “Extract” or “Extract files” or “Extract here” .
- After extracting the zip file you will find a file named, “MY SQL – 5.5.15 – WIN 32.msi”.
- Open the file “MY SQL – 5.5.15 – WIN 32.msi” by double clicking on it.
- On double clicking, the instillation window will appear see (image 01).
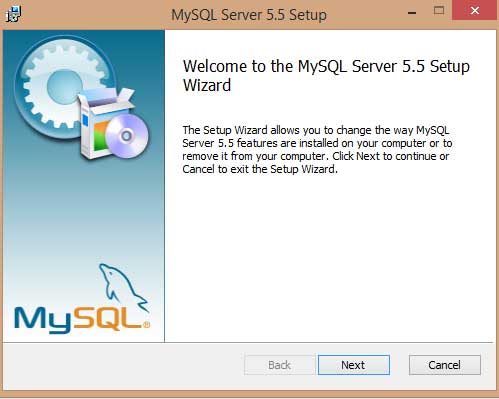
(Image 01)
- On the Welcome Instillation window click on Next button
- After Welcome instillation window the User-agreement window will appear.
- Click the Agreement check box and click on Next button.
- After the agreement window you need to tell the installer the installation type.
- There are three options, Typical, Custom and Complete.
- Well, Click on Typical ( our recommendation).
- After all these you need to confirm the installation by click on the button “Install”.
- Allow the Window to install the MySQL and be patient for a one or two minutes.
- While in the process of installation, the MySQL Enterprise window will pop-up.
- Well, Click on Next button followed another Next button.
- Congratulations! You have successfully installed the MySQL, but hang-on you still need to configure it.
- After the above steps, at the end, the Installation Completion confirmation window will appear.
- You need to tick the check-box mentioned “Launch the MySQL Instance Configuration Window” and Click on Finish button.
- On clicking the Finish button window may ask for permission to run, well assign it.
- After the above step the MySQL Configuration window will appear, just click on Next button.
- Make sure the Detailed Configuration is checked and again click on Next button.
- Select the Developer Machine and click on Next button.
- Again select the Multifunctional Database option and click on Next button.
- Followed by another Next button select the Decision Support (DSS)/OLAP and click on Next button.
- Check the both options, Enable TCP/IP Networking and Enable Strict Mode and click on Next button.
- In the character set window select Standard Character set and click on Next button.
- Check the option Install as Windows service and click on Next button.
- Now input the new password and confirm it in the confirm password field and click on Next button.
- After all these options, at the end Ready to Execute window will appear.
- Well, click on Execute button and wait until it completes the process.
Cheers you have successfully Installed and configured your MySQL
