

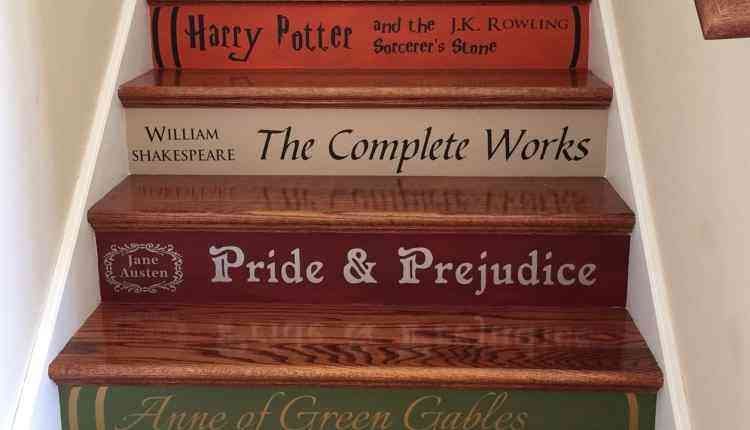
1. Book Stairs
If you have an imagination as vivid as your favourite author then you might have stumbled upon the idea of how the stairs of certain building or all building look like spines of a book. Take your imagination a step further with this do it yourself project. For this you will need some paint, some letter stencils of various styles and stairs. You can print out your own stencil. The fonts for which you can find on DaFont. Not all fonts used on official prints are free. Often, they are custom made, copyrighted and not for public use. And often they are commercial fonts for which you need to pay.
Anyway, begin to paint the background of the stairs using a base paint. Let it dry before you apply another safety coat. Now take your stencil and begin painting over it. You may use various complimenting fonts. Make sure the words stand out on the background and appear striking. Use two different fonts for the author name and title. And lo behold! You might just be walking to the land of escapism using your books as stairs.
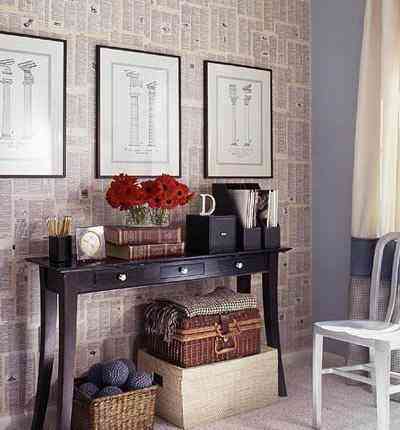
2. Printed Walls
A lot of readers love the smell of pages. The musty, old smell of erupting out of the pages leaves them in a euphoric trance. Express this love for the smell, or well, the pages by making use of newspapers as wallpapers. You may also use pages from old books. For this you will need wallpaper adhesive and liner, pages, decoupage medium, paint tray, paintbrush and wallpaper smoother. Apply a wallpaper liner on the wall and let it dry. Pour decoupage medium in a small dish. Use a paintbrush to apply this on the back of the newspaper. Press the page on the wall with a wallpaper smoother. Now apply another thin layer of the medium to seal it. Or you can take it a step further and write the whole book out on the wall with your bare hands!
3. Yellowing Pages
To prevent yellowing of pages, make sure you do not store you books in a closed area. You should also clean away the dust weekly or at least monthly. The substance lignin in paper turns yellow on exposure to light. So, keep your books away from light. When you dust your books, dust from spine outward to prevent any dust from settling behind the spine. Since books need to breath, do not store them in plastic bags. They also cause molding or warping. Rather you can wrap the books in acid free cloth or purchase boxes designed specifically for storing books.
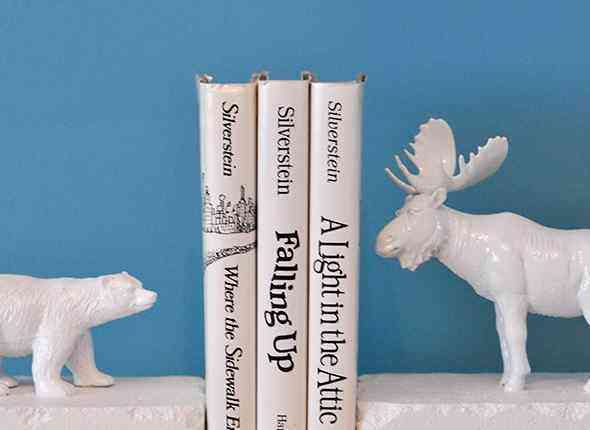
4. DIY Bookends
Are you storing your books on your desk? Do they keep spilling over? This DIY has you covered. While being cute, beautiful and pretty décor piece, it also serves the purpose for which it is made. For this you will need two bricks, two animal figurine, hot glue and a can of spray paint. Using hot glue stick your animal figurine on top of the brick. Spread newspaper underneath the area where you have decided to spray paint the object. Take the can of spray paint and begin spraying over it. You may choose to go ombre. For this you will need to cover one half of the object while painting the other half and then covering the painted half while painting the unpainted half.
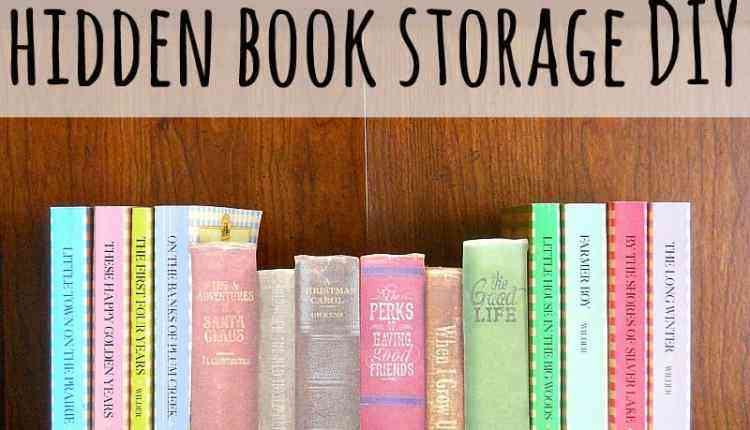
5. Hidden Storage
This DIY works well to hide away your Mills and Boons, Outlander, Forever and Try sort of books. For this you will need a box, a printed cut out of some books standing vertically together and glue. Make sure the print out is bigger in size than the box and cover it on three sides. It is better if the books are the same size as well. Just apply glue on the cut out and stick it to the box. Just put the secret stash of your books in the box and store it along with your other books.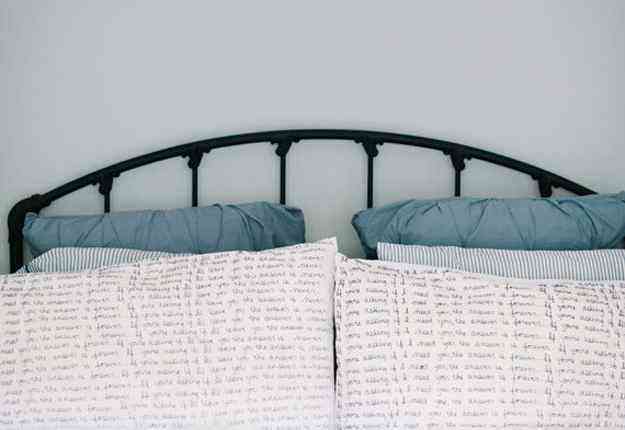
6. Pillows
Any bibliophile will agree that they breath and eat books. So why not express the sentiment with your own pillows? For this project you will need a basic coloured pillow cover without any print. Preferably one which is of light colour like white. And a fabric marker. Any other marker would smudge when washed. Take out some books or google some quotes you really like and begin to right out on the pillow cover’s surface. You can take this to the point of obsession by writing your out the whole book on the wall.
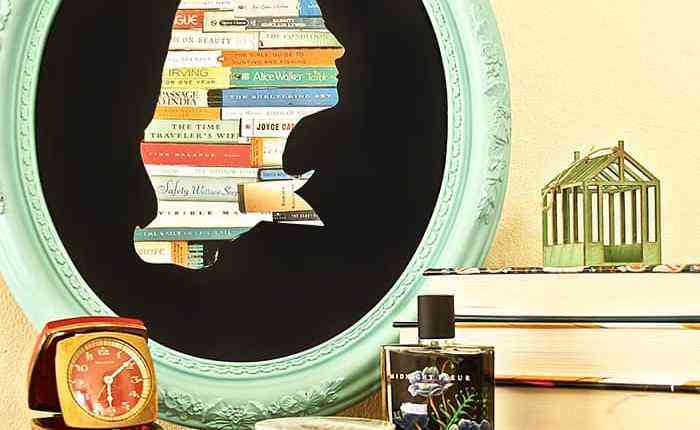
7. Silhouette
This classy DIY will make your shelf look even more brilliant and aesthetic. What do you need for this do it yourself project? A printed picture of book spines, a black chart paper, fevicol, a pair of scissors and a frame. Paint the frame in some vintage, muted tones. Draw a silhouette on the back of the printed paper. Cut it out. Stick the cut out to the black chart paper. Cut the chart paper so it would fit the frame. And behold!
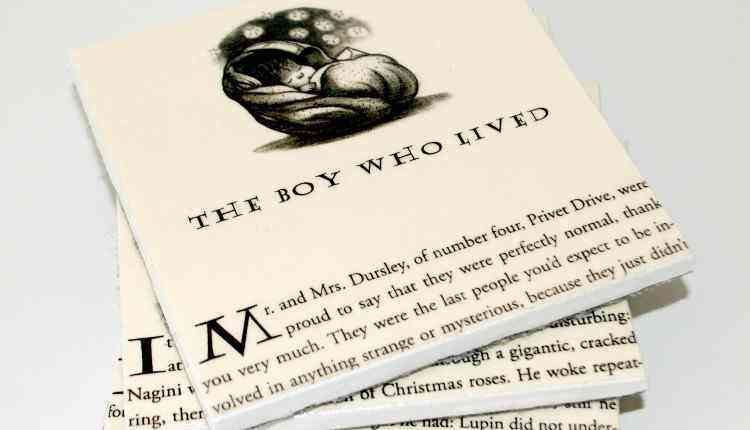
8. Book Coasters
To make these book coasters you need not tear the precious pages of your books. For this project you will need a book page with illustration, glue, decoupage medium or glass and a marble square. You can simply print out the illustration or page from the internet or xerox your book where the illustration is kept. Then stick it on a marble coaster. Apply a layer of glue on top so it acts as a seal. For further protection, you may choose to stick a glass over it. But a layer of decoupage does the job good enough.
How I Turned A Pin Into Reality regarding Where To Get Pictures Blown Up And Framed – annecyskate.com
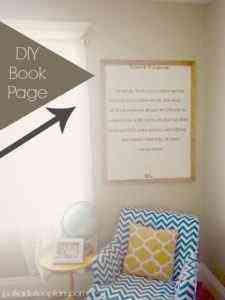
9. Wall Décor
Here is a DIY for all you John Green fans. You might not be able to fathom your stars into constellation but you sure can fathom your love for the book or its quotes through this DIY. To make this you will require, a book quote, an enlarged print out of the quote and a frame. Do we need to explain what you need to do? Just choose a quote, enlarge it on photoshop and print it out. And frame it.
