

Java is an object-oriented programming language introduced in the year 1996 which is one of the most popular and widely used programming languages in the development of smartphone apps, computer applications, web applications, and the smart-gadgets. Where the NetBeans is an integrated development environment (IDE), most commonly used for UI/UX designing and developing Java and other programming languages based applications.
In this tutorial, we will learn to connect MySQL Database or any other database providers like Oracle Database and Microsoft SQL. We will also, see Java database code example and sample to perform different Database operations like Insert, Update and Delete.
If you have not installed MySQL and NetBeans IDE yet then you can see the tutorial on how to install MySQL on Windows machine and NetBeans installation guide.
If you have installed the MySQL previously, but have forgotten the password then you can simply remove it from the Add and remove the program and install the alternative tool XAMPP which have inbuilt MySQL application where its password is not set so if in case you asked to enter password you can simply press enter to access and in the code just put double-double quotes (as “” without space). XAMPP also comes with the GUI version of MySQL namely phpMyAdmin all you have to make sure to select the Apache while installing the XAMPP and to access GUI version of MySQL (phpMyAdmin) you have to start the MySQL and Apache using the XAMPP control panel and then go to http://localhost using your web-browser.
Once you’ve installed MySQL or MariaDB launch the Console and create the database as per your choice. In this article, we would be naming our database as “college”, and also we would be creating a table as “student” with columns “id, name, class, age, gender”.
create database college;

Create a Database
use college;

create table student(
id int primary key,
name varchar(50),
class char(2),
age int,
agender char(1));
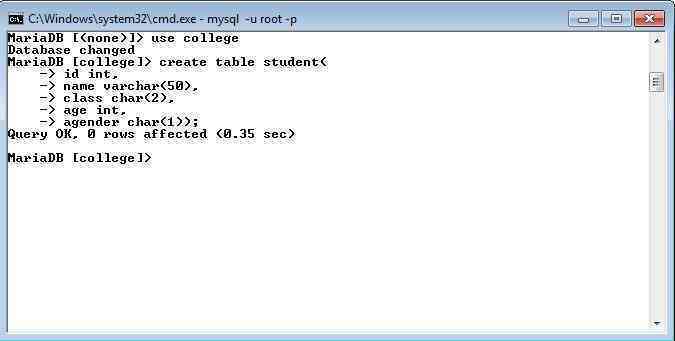
Create a table
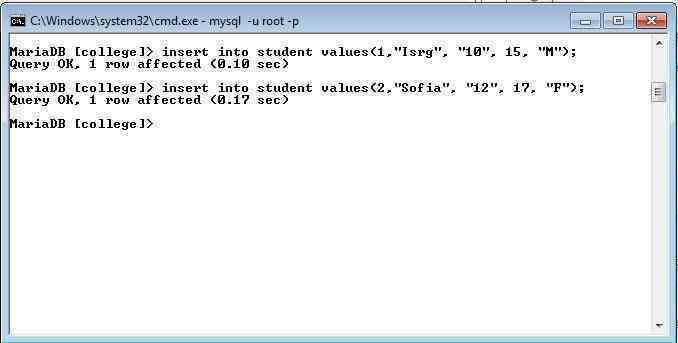
Insert data in the student table for the demonstration
Once you have created the database and the table it is ready to connect to the NetBeans IDE.
Connecting Netbeans with MySQL Database programmatically
To connect NetBeans with MySQL Database:
- Launch NetBeans IDE application
- Click on File> New Project> Select Java from categories> Java Application from Projects> click on Next button
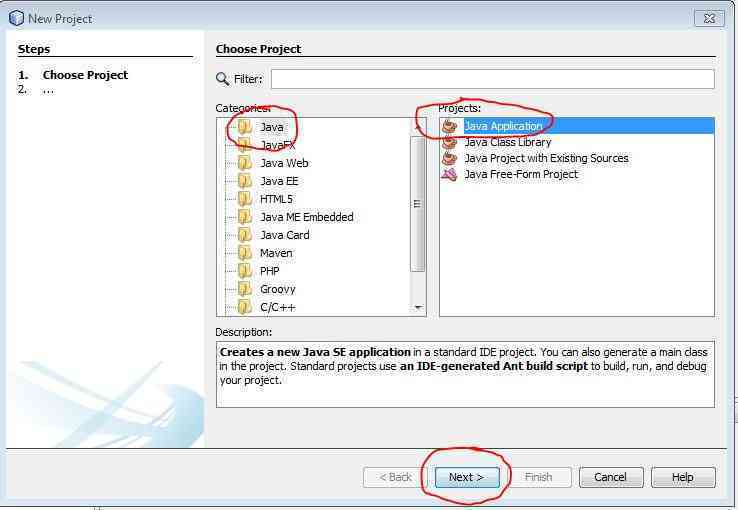
Java new Project wizard
- Enter your project name and click on Finish button in our case we have taken college as the project name
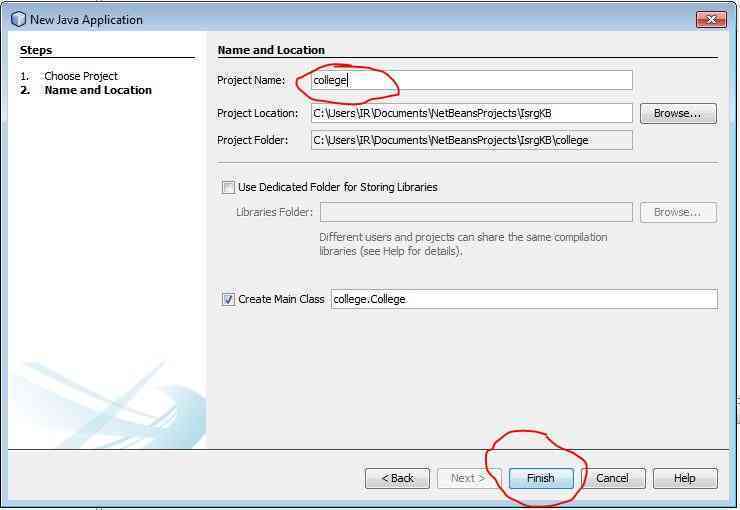
Java project name
- After successful creation of the project following files will be generated that you will be able to see in the project explorer
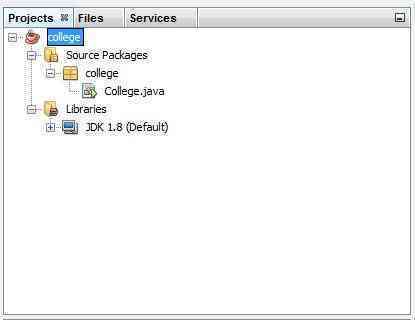
Project explorer
- Click and open College.java file located under college>Source Packages>college and add the following NetBeans database connection code in the place of “// TODO code application logic here” (you can remove this line):
/*
 * To change this license header, choose License Headers in Project Properties.
 * To change this template file, choose Tools | Templates
 * and open the template in the editor.
 */

package college;

import java.sql.*;

/**
 *
 * @author IR
 */
public class College {

  /**
   * @param args the command line arguments
   */
  public static void main(String[] args) {
    try{
      Class.forName("com.mysql.jdbc.Driver");
      Connection conn=DriverManager.getConnection("jdbc:mysql://localhost:3306/college","root","");
      Statement stmt=conn.createStatement();
      ResultSet rs=stmt.executeQuery("select * from student");
      while(rs.next()){
        System.out.print(rs.getString("id")+" ");
        System.out.print(rs.getString("name")+" ");
        System.out.print(rs.getString("class")+" ");
        System.out.print(rs.getString("age")+" ");
        System.out.print(rs.getString("agender")+" ");
      }
    } catch (Exception ex) {
      System.out.print(ex.getMessage());
    }
  }

}
- Press Shift+F6 or click on Run > Run file to execute the programme
- After execution, you may encounter “com.mysql.jdbc.Driver” error which is caused by the missing com.mysql.jdbc.Driver
How to fix com.mysql.jdbc.DriverBUILD SUCCESSFUL and add MySQL JDBC Driver Jar file?
To fix com.mysql.jdbc.DriverBUILD SUCCESSFUL and add MySQL JDBC Driver Jar file:
- Right-click on Libraries and select Add Library option
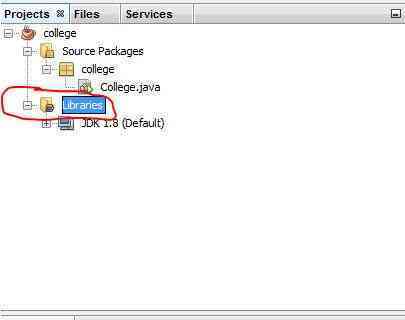
Java Libraries
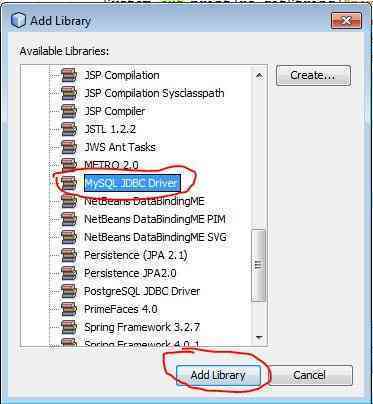
- In the Add Library window select MySQL JDBC Driver and click on Add Library button
- After adding the MySQL JDBC Driver, run the program, and after successful execution, you will be able to see the results in the Output screen as follows:
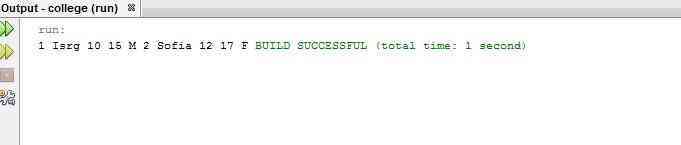
MySQL JDBC Netbeans Output
Connecting Netbeans with MySQL Database using Wizard (Master/Detail Sample form)
To Connect Netbeans with MySQL Database using Wizard (Master/Detail Sample form):
- Right-click on your project and select New> Others… option
- In the New File wizard, select “Swing GUI forms” from the categories and “Master/Detail Sample Form” from the file types and click the Next button.

New file master/detail form
- Give a name to your class and select the package of your choice and click on the Next button
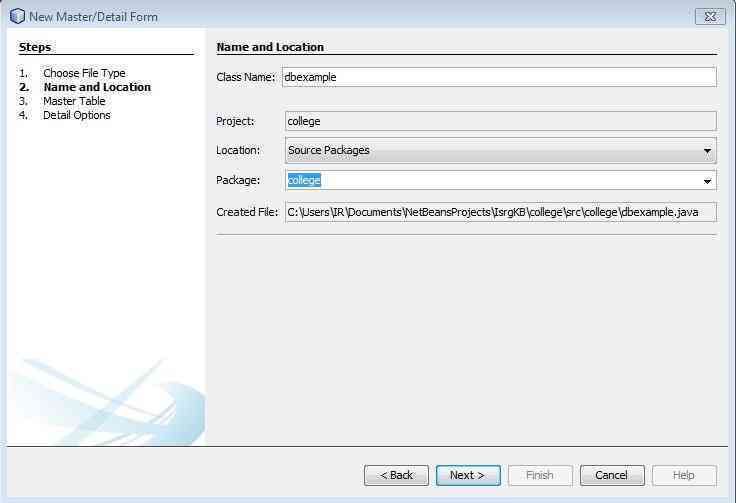
Class and package name for the master-detail form
- On the “Master Table” window click on the Database Connection drop-down option and select “New Database Connection…” option.
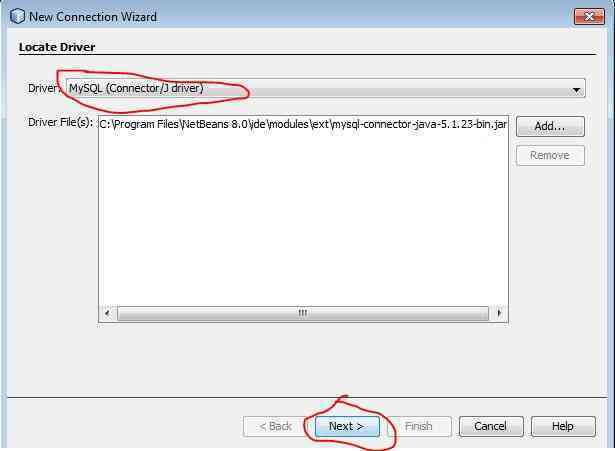
- On the “New connection wizard” window select “MySQL (Connection/J Driver)” from the drop-down menu and click on Next button.
- On the next window fill out your database details like host, port, database name, database username and database password (if in case your database does not have a password leave the password field empty)
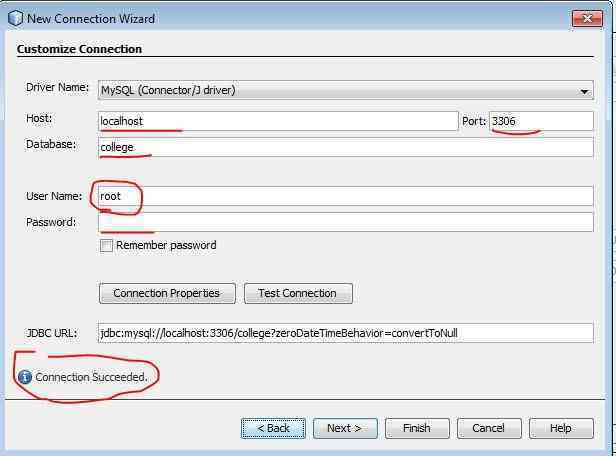
New connection details
- You can test the connection by clicking on the “Test Connection” button and click on the “Finish” button.
- Select the columns that you want to display and click on the “Next>” button.
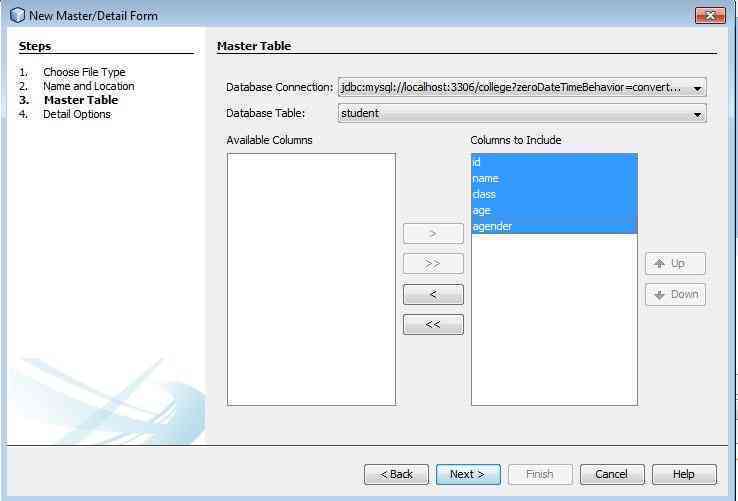
Select columns
- On “Details Option” window click on “Finish” button.
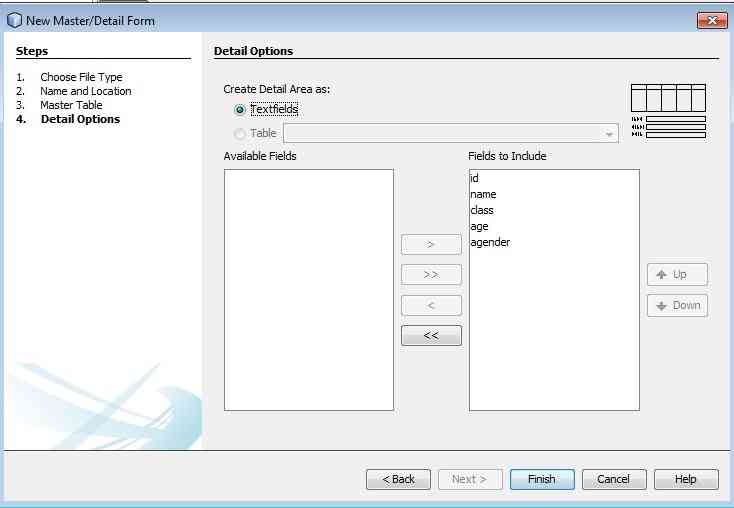
Details options
- After NetBeans finishes generating the necessary files, you can generate the master data sample
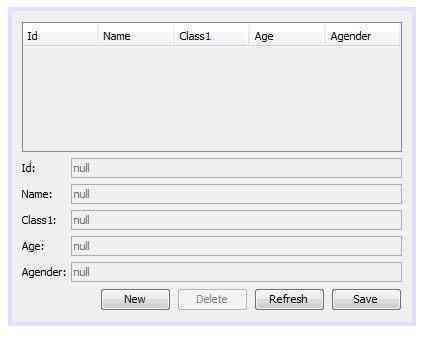
Netbeans master table sample
Once you’ve tested out MySQL database connectivity, you can create your custom projects by modifying the necessary methods and statements. You can share your feedback and query related to our this article in the comments.
